Adding test cases and test runs in Perforce ALM is fairly simple. A test case can be created either from an existing requirement, or as a new standalone test case without a requirement.
In this visual walkthrough, we will use a requirement as the starting point to create a test case. The advantage of this approach is that the test case (and any other artifact generated from a requirement) will be automatically linked to the requirement, simplifying traceability.
1. Select a Requirement
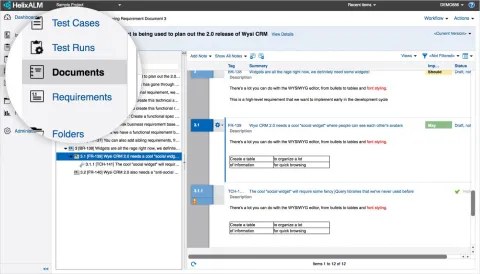
Click on Documents in the left side navigation bar. In the document, select the requirement to add the test case to.
2. Generate the Test Case
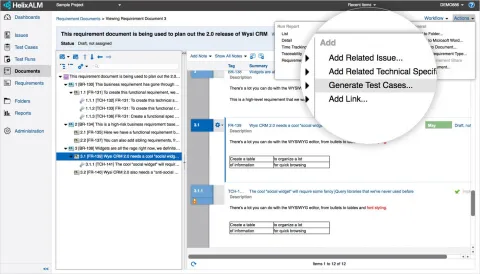
Click on Actions and choose Generate Test Cases.
NOTE: Depending on your workflow, you may not be able to generate test cases through the requirement's Actions menu if the requirement is in certain states, such as Draft or Under Review. In these cases, the following message is displayed:

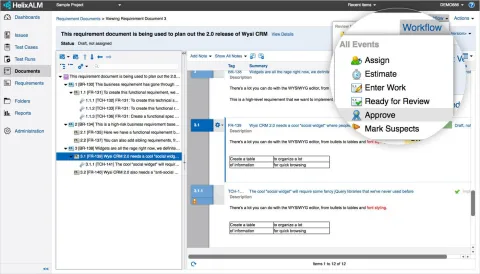
To continue adding a test case, click OK. Click Workflow and choose Approve to change the requirement state.
3. Add the Test Case to a Folder
To add the new test case to a project folder, select Add new test cases to a folder in the Generate Test Cases dialogue box and click Browse.
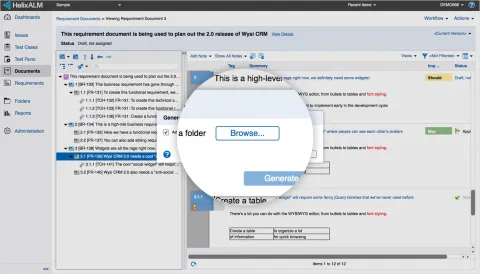
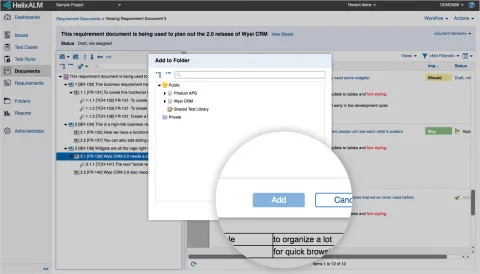
Select the folder to add the new test case to and click Add.
4. View Linked Test Cases
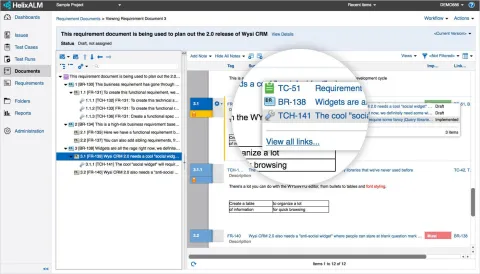
You can see the newly created test case in the Linked Test Cases column.
5. Add Information
Click the new test case to see the detailed view. To add information to the test case, click Edit.
Note: Notice the fields in red. These fields are required. If they are not completed, you cannot save the requirement.

6. Add Steps
Click Insert Step to add steps to the test case.
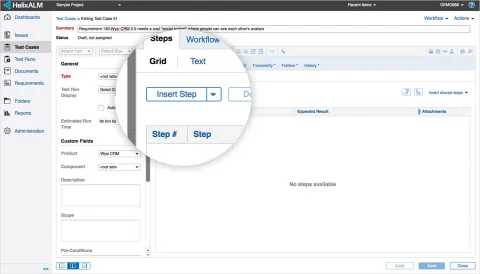
Add as many steps as you need, including expected results and attachments, if necessary.
Note: You can also add comments.
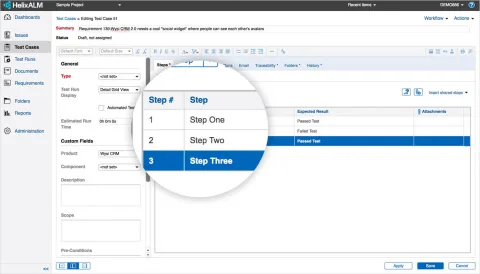
When you finish adding steps, change the state of the test case to Ready using the Workflow menu.

7. Create a Test Run
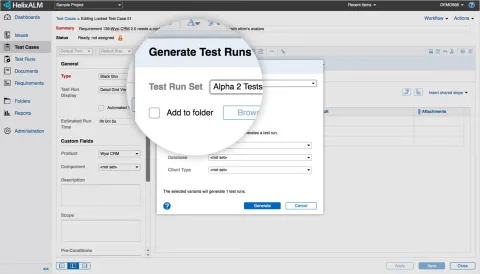
When your test case is marked as Ready, you can create a test run. Click Actions and choose Generate Test Runs.

In the Generate Test Runs dialog box, select a Test Run Set and add the new test run to it. Select a folder to add the test run to or click Do not add to a folder. Optionally, you can select the Test Variants to use when generating test runs. When you are done, select Generate.
8. Start the Test Run
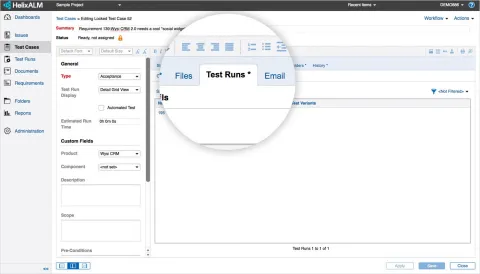
When you’re ready to start testing, click the Test Runs tab to see a list of test runs and then click the one you want to run.
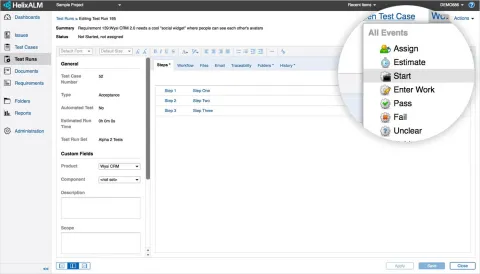
To start the test run, click Edit. Click Workflow and choose Start. Select Step 1 to start testing.
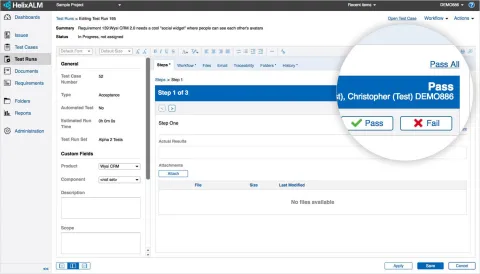
You can mark each step as Pass or Fail or select Pass All to pass all steps. You can also add step notes, actual results notes, problem statements, and attachments, if needed.
Note: Notice how Perforce ALM logs who ran the test and when.
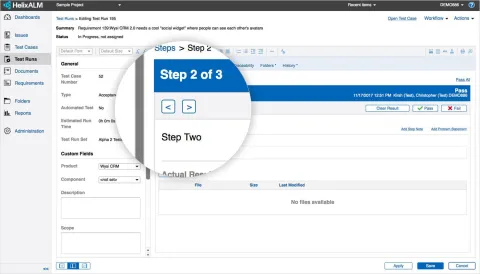
When the test step is completed, click the arrow on the right side of the page move to the next step.
9. Pass or Fail the Test
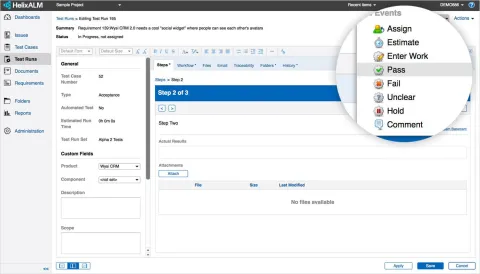
When the test run is complete, choose a result in the Workflow menu to pass or fail the test.
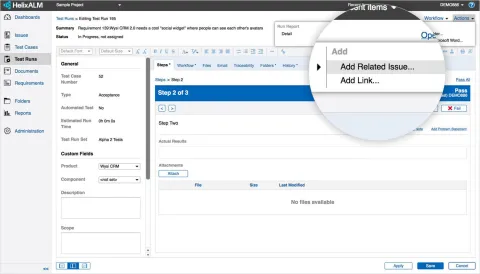
If an issue or defect needs to be added, click Actions and choose Add Related Issue.
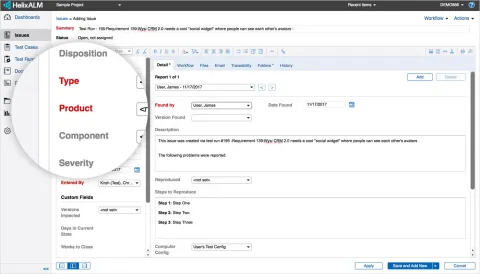
When the issue is created, Perforce ALM copies information from the test run and links the issue to the test run.
Note: Notice the fields in red. These fields are required. If they are not completed, you cannot save the requirement.
And you’re done! If you have any questions, send us an email and we'll book some time with our Perforce ALM experts to help you get started.
Enjoy your trial of Perforce ALM!

