Adding a User to Your Helix ALM Trial
If you’re giving Helix ALM a try, here’s a quick visual guide to show you how to add other members your team so they can evaluate our modular application lifecycle management tool as well.
After completing the sign-up process, visit https://tryhelixalm.perforce.com/ttweb/ and log in using the username and password you received in the welcome email.
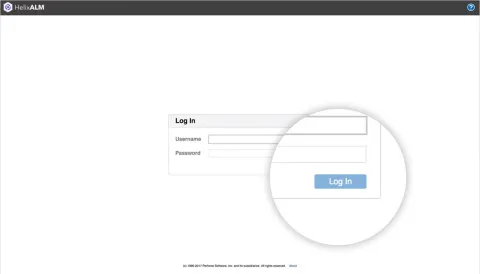
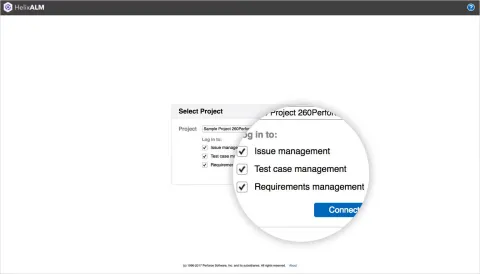
Once you’re logged in, you can select which type of project to try.
- Are your requirements, test cases, and issues relatively straightforward? Try the standard Sample Project.
- In a regulated industry or have highly complex requirement or test management needs? Check out the Life Sciences Project.
You can always change your template later from the Project drop-down menu.
You can also choose the modules you are interested in checking out during your trial. You can try all three modules or choose any combination of Helix RM for requirements management, Helix IM for issue management, and Helix TCM for test case management.
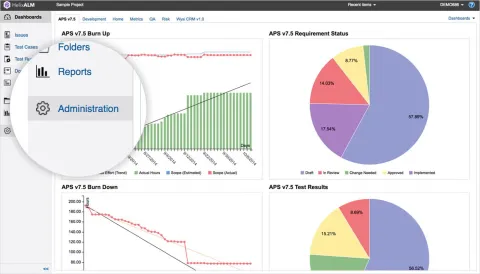
Now you’re ready to add your team. To add a user, click Administration in the left navigation bar.
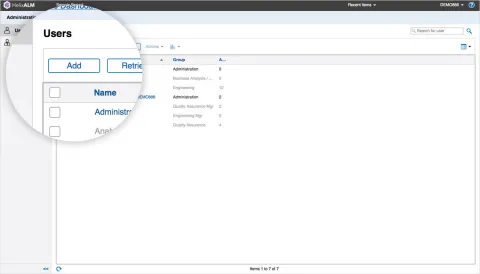
On the Users page, click Add.
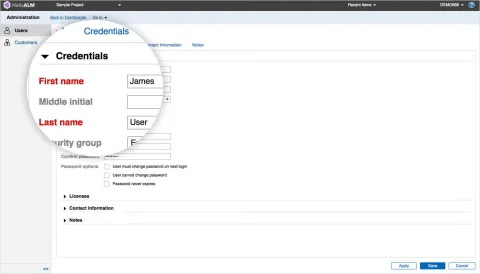
Complete the user’s Credentials and assign them a username and password.
Note: Remember to assign a security group. Assigning a security group is required to ensure your team members can login and have access to Helix ALM.
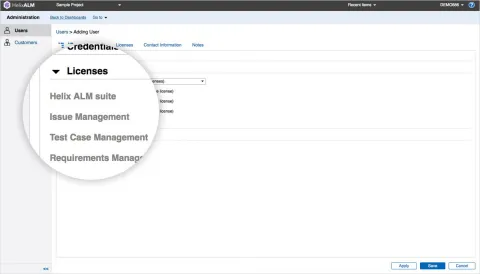
Under Licenses, you can assign the corresponding license. For the trial version, you can assign up to 200 floating licenses.
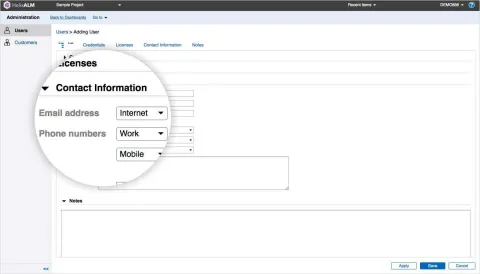
You can also add Contact Information and any Notes about the user.
After completing the user’s information, click Save.

Find the new user in the Users list.
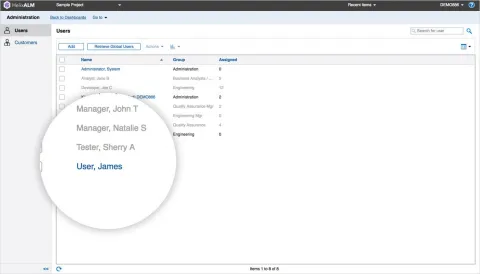
And that’s it! You can continue adding users from this page by clicking the Add button and following Step 4.
If you run into any trouble and need support from our ALM experts, just send us an email and we'll help you get started.
