
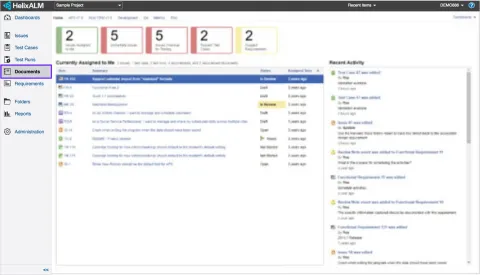
One of the first things you’ll do in Helix ALM is create requirements. A requirement can be created on its own or added to an existing requirements document.
This guide shows you how to get started quickly by adding a new requirement to an existing requirements document.
1. Select a Document
Click Documents in the left navigation bar to display a list of the existing documents in the project.
Click the document you'd like to add a requirement to.
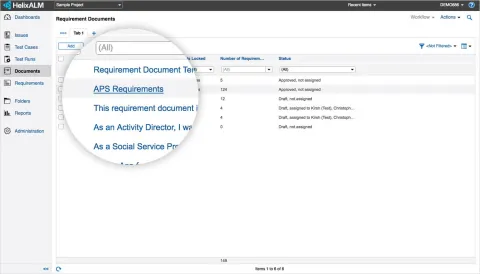
2. Unlock the Document
You can tell if the document is locked by looking in the Is Locked column. A red lock icon and a “Yes” means it’s locked. If it is not locked, continue to Step 3.

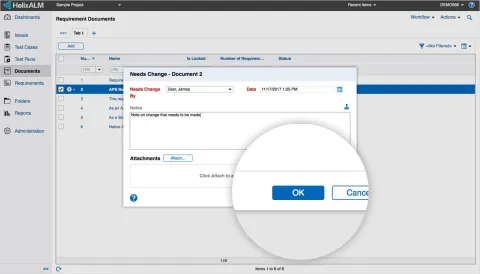
If the document is locked, you need to unlock it through the workflow. Select the check box next to the document. Click Workflow and choose Needs Change to unlock it.
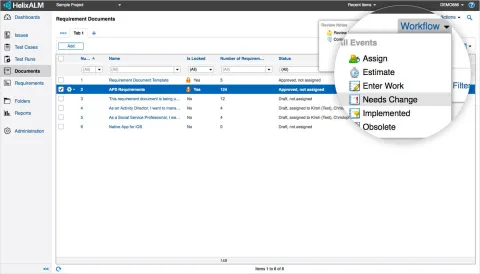
Helix ALM will automatically log who made the change to the document and when the change was made. You can also add notes and attachments if needed. Click OK when you are done.
3. Add the Requirement
Select the document to add a requirement to and click the Add Requirement button to open the menu. You can also select an existing requirement to add the new requirement as a child or sibling.
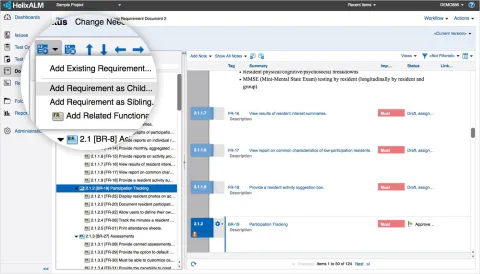
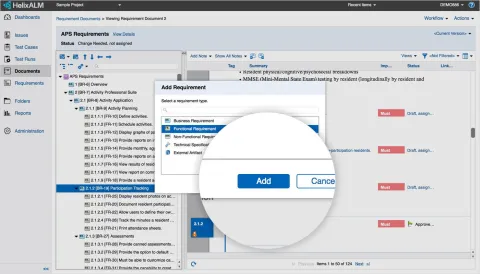
To add the requirement as a child, select Add Requirement as Child. To add it as a sibling, click Add Requirement as Sibling. The Add Requirement dialog box will open. Select the requirement type to create and click Add.
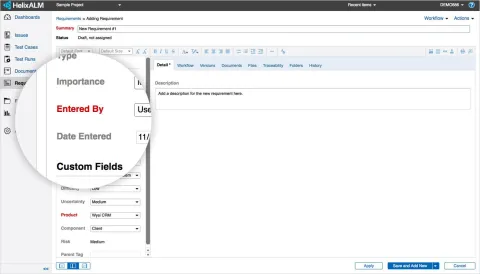
4. Add Requirement Details
You can add the requirement information on the Adding Requirement page.
Note: Notice the fields in red. These fields are required. If they are not completed, you cannot save the requirement.
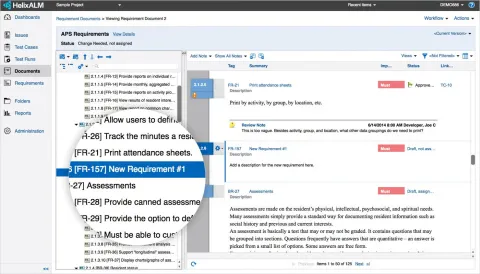
5. Save the Requirement
Click Save. The new requirement is now created and linked to the requirement or document you selected in Step 3.
And you’re done! If you have any questions, send us an email and we'll book some time with our Helix AML experts to help you get started.